🏡 How To Stage A House To Sell
📚 The Financial Literacy Library
The best investment you can ever make is in your own financial education. These 5 cornerstone books are what millionaires, financial advisors, and wealth-builders universally recommend for completely rewiring how you think about earning, saving, and investing money.
🧠 The Psychology of Money
Doing well with money isn't necessarily about what you know—it's about how you behave. Morgan Housel masterfully breaks down the emotional and psychological biases that secretly dictate our financial decisions, offering a true paradigm shift in how to view wealth.
🏠 Rich Dad Poor Dad
The #1 personal finance book of all time for a reason. This foundational read shatters the myth that you need to earn a high income to be rich, teaching you the critical difference between working for money and making your money work for you via assets.
📈 Atomic Habits
While not strictly a finance book, building wealth is absolutely dependent on the daily habits you cultivate. James Clear provides the definitive framework for breaking bad spending habits and effortlessly automating the good ones that lead to long-term success.
📊 The Simple Path to Wealth
The ultimate antidote to complex, intimidating financial advice. JL Collins provides an incredibly accessible, low-stress roadmap to financial independence through index fund investing, perfectly explaining why simplicity beats Wall Street complexity every time.
💳 I Will Teach You to Be Rich
A tactical, no-BS, 6-week program that actually works. Ramit Sethi teaches you how to crush debt, automate your savings, and negotiate your salary—all while guilt-free spending on the things you truly love. A must-read for modern money management.
Selling your home is one of the biggest financial transactions you’ll ever make, and it’s a golden opportunity to boost your wealth significantly. Think of staging not as an expense, but as a strategic investment that can put thousands more dollars in your pocket and accelerate your journey to financial freedom. This guide will walk you through transforming your house into an irresistible home that buyers will clamor for, all while keeping your budget in check and your money mindset strong.
Quick Overview
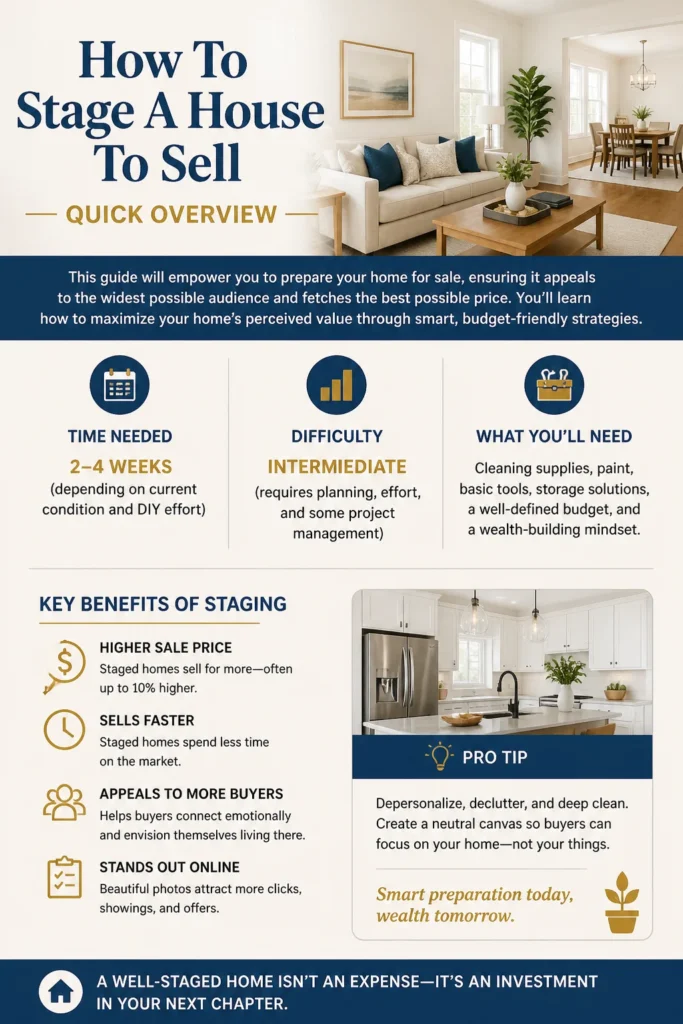
This guide will empower you to prepare your home for sale, ensuring it appeals to the widest possible audience and fetches the best possible price. You’ll learn how to maximize your home’s perceived value through smart, budget-friendly strategies.
Time needed: 2-4 weeks (depending on current condition and DIY effort)
Difficulty: Intermediate (requires planning, effort, and some project management)
What you’ll need: Cleaning supplies, paint, basic tools, storage solutions, a well-defined budget, and a wealth-building mindset.
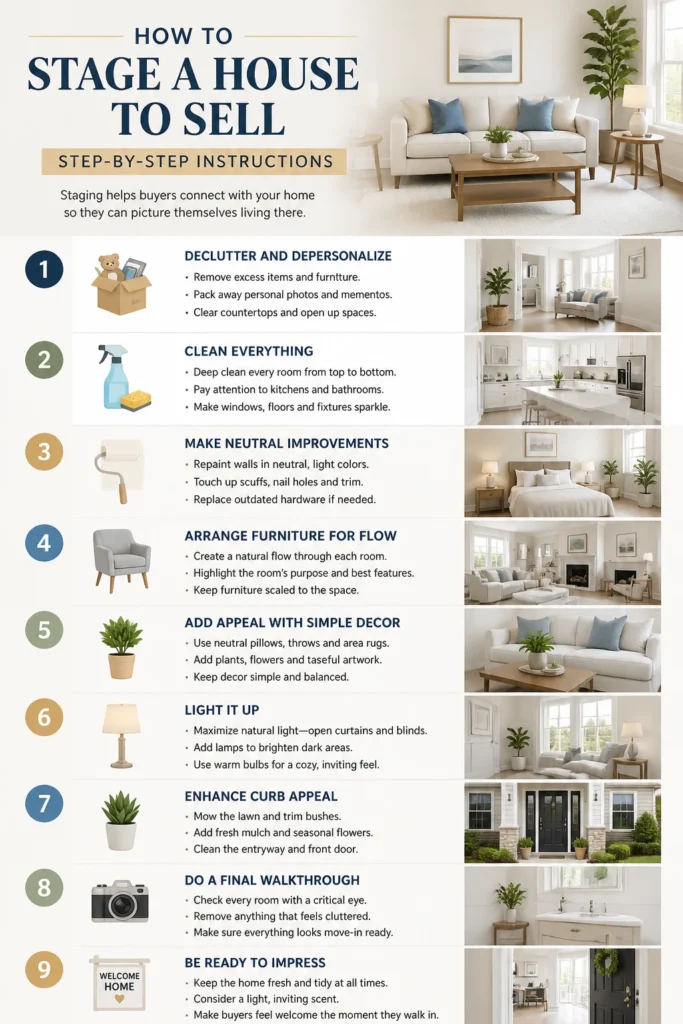
Step-by-Step Instructions
Step 1: Adopt a Money-Smart Mindset & Budget Like a Boss

Before you lift a finger, shift your perspective. Your home is no longer just “home”; it’s a product you’re marketing. Every dollar you spend on staging should be viewed as an investment with a clear return. This is where your financial savvy truly shines. Create a dedicated staging budget, even if it’s small. List all potential expenses: cleaning supplies, paint, minor repairs, storage, maybe even a few new accessories. Research average costs for these items.
Pro tip: Start an “opportunity fund” for your staging efforts. Even if it’s just $500, having a dedicated budget prevents overspending and helps you track your ROI. Think of it as seed money for a future windfall. Every dollar saved here is a dollar earned on closing day. Prioritize tasks that offer the biggest bang for your buck, like painting and decluttering, which often have high returns for relatively low cost.
Step 2: Declutter, Depersonalize, and Donate (or Sell!)
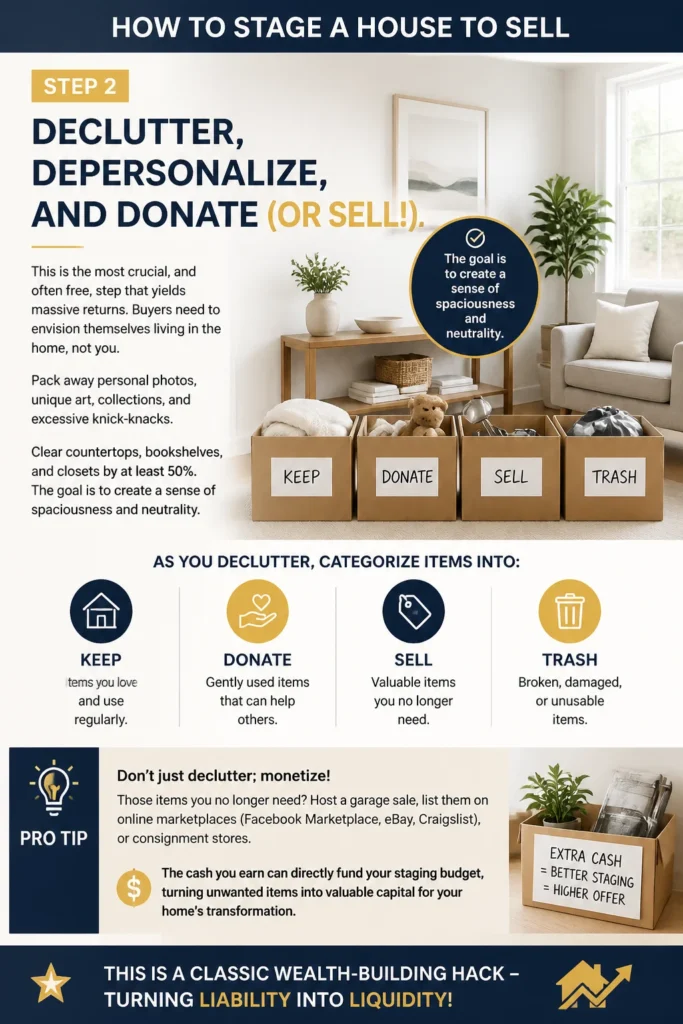
This is the most crucial, and often free, step that yields massive returns. Buyers need to envision themselves living in the home, not you. Pack away personal photos, unique art, collections, and excessive knick-knacks. Clear countertops, bookshelves, and closets by at least 50%. The goal is to create a sense of spaciousness and neutrality. As you declutter, categorize items into “Keep,” “Donate,” “Sell,” and “Trash.”
Pro tip: Don’t just declutter; monetize! Those items you no longer need? Host a garage sale, list them on online marketplaces (Facebook Marketplace, eBay, Craigslist), or consignment stores. The cash you earn can directly fund your staging budget, turning unwanted items into valuable capital for your home’s transformation. This is a classic wealth-building hack: turning liabilities (clutter) into assets (cash). Consider renting a storage unit for items you want to keep but need out of sight – factor this cost into your budget, or borrow space from a trusted friend or family member for free.
Step 3: Deep Clean Until It Sparkles & Tackle Those Repairs
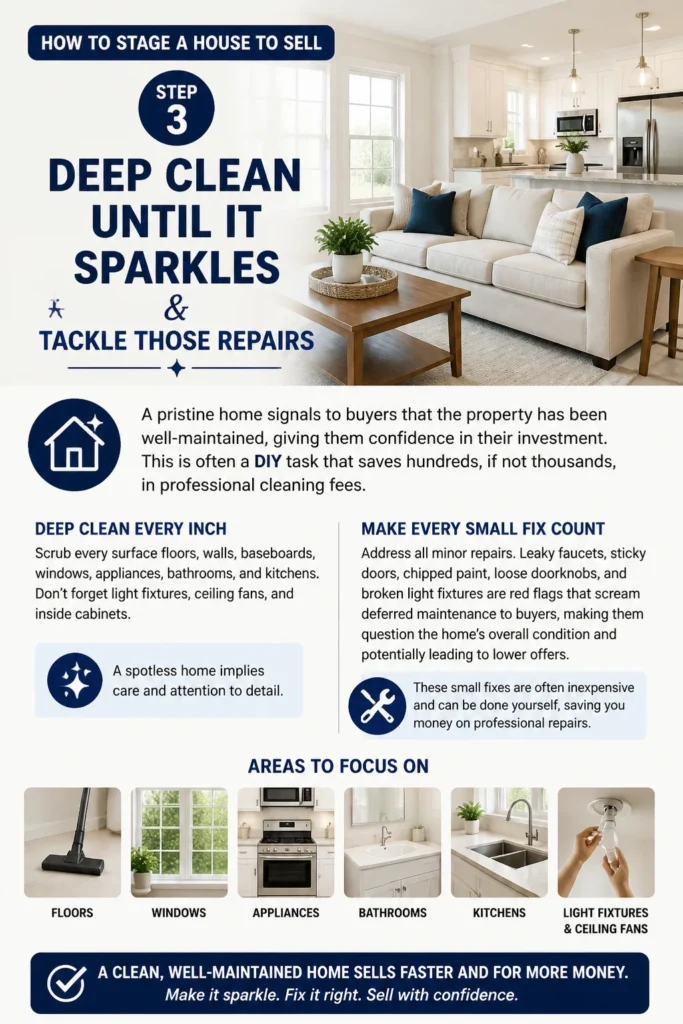
A pristine home signals to buyers that the property has been well-maintained, giving them confidence in their investment. This is often a DIY task that saves hundreds, if not thousands, in professional cleaning fees. Scrub every surface: floors, walls, baseboards, windows, appliances, bathrooms, and kitchens. Don’t forget light fixtures, ceiling fans, and inside cabinets. A spotless home implies care and attention to detail.
Simultaneously, address all minor repairs. Leaky faucets, sticky doors, chipped paint, loose doorknobs, and broken light fixtures are red flags that scream “deferred maintenance” to buyers, making them question the home’s overall condition and potentially leading to lower offers. These small fixes are often inexpensive and can be done yourself, saving you money on professional services.
Pro tip: Create a “honey-do” list of repairs and assign a small budget to each. Prioritize repairs that are visible and functional. For example, a $10 lightbulb replacement is a no-brainer. Fixing a leaky faucet yourself with a $5 washer kit not only saves you a plumber’s fee but prevents potential water damage, protecting your future equity. Think of these small repairs as preventing future financial headaches for the buyer, which translates to a smoother, higher-priced sale for you.
Step 4: Paint with Purpose & Refresh Key Areas
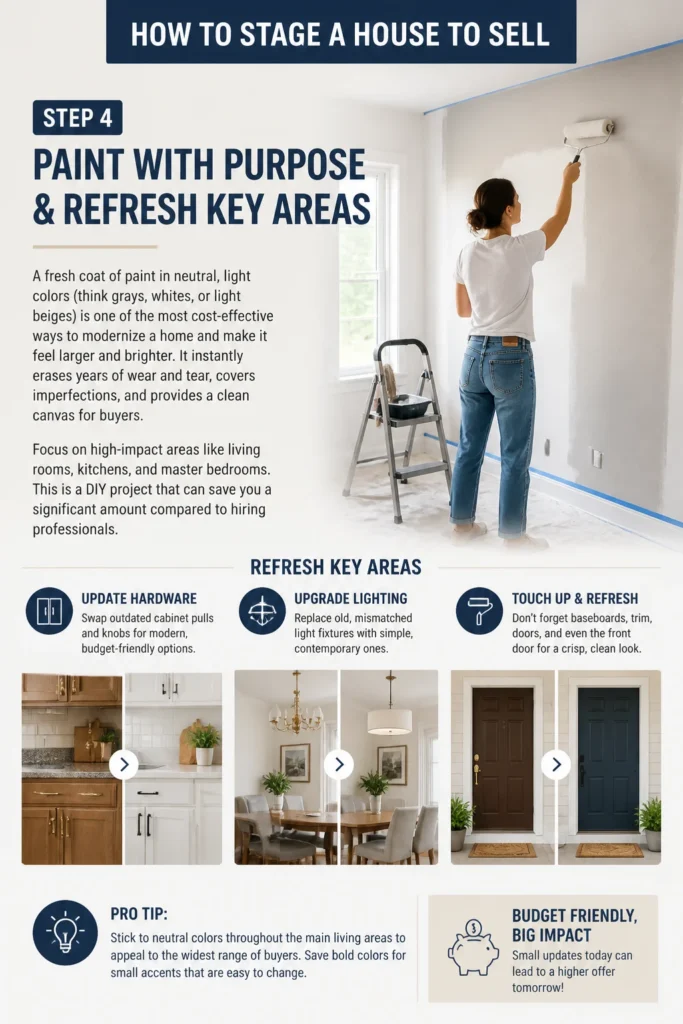
A fresh coat of paint in neutral, light colors (think grays, whites, or light beiges) is one of the most cost-effective ways to modernize a home and make it feel larger and brighter. It instantly erases years of wear and tear, covers imperfections, and provides a clean canvas for buyers. Focus on high-impact areas like living rooms, kitchens, and master bedrooms. This is a DIY project that can save you a significant amount compared to hiring professionals.
Beyond paint, look for other inexpensive ways to refresh. Update outdated cabinet hardware in the kitchen and bathrooms with modern, budget-friendly options. Replace old, mismatched light fixtures with simple, contemporary ones. These small changes have a disproportionately large impact on a room’s overall feel and perceived value.
Pro tip: Buy paint during sales or look for mis-tinted cans at hardware stores for deep discounts. You can often find high-quality paint for a fraction of the price. Remember, this is an investment in your home’s appeal; a $100 paint job could increase your sale price by thousands. When choosing colors, opt for universal appeal – neutral tones allow buyers to project their own style onto the space, accelerating their emotional connection and willingness to offer more.
Step 5: Optimize Layout & Create Functional Flow
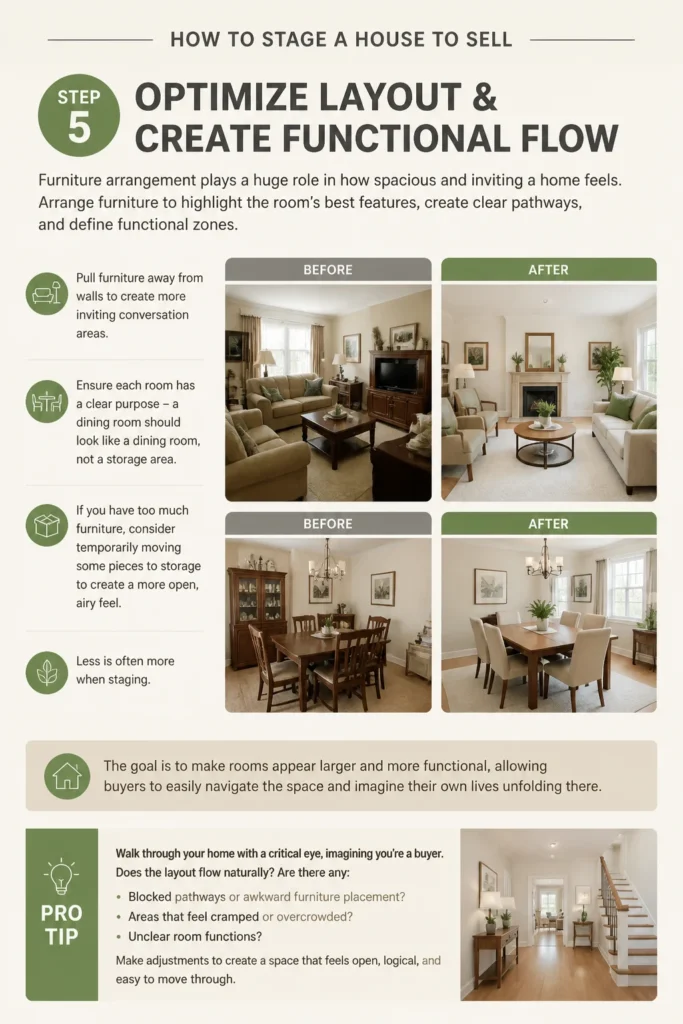
Furniture arrangement plays a huge role in how spacious and inviting a home feels. Arrange furniture to highlight the room’s best features, create clear pathways, and define functional zones. Pull furniture away from walls to create more inviting conversation areas. Ensure each room has a clear purpose – a dining room should look like a dining room, not a storage area.
If you have too much furniture, consider temporarily moving some pieces to storage to create a more open, airy feel. Less is often more when staging. The goal is to make rooms appear larger and more functional, allowing buyers to easily navigate the space and imagine their own lives unfolding there.
Pro tip: Walk through your home with a critical eye, imagining you’re a buyer. Does the layout flow naturally? Are there any awkward dead zones? Use existing furniture creatively. For example, a small armchair pulled into a corner with a floor lamp can create a cozy reading nook, adding perceived value without buying anything new. This strategic use of what you already own is a smart money move, maximizing your existing assets.
Step 6: Enhance Curb Appeal – The First Impression Investment
The exterior of your home is the first thing buyers see, and it sets the tone for their entire viewing experience. A strong first impression can increase buyer interest and even justify a higher asking price. This is another area where DIY efforts yield significant returns. Mow the lawn, trim hedges, weed garden beds, and add fresh mulch. Power wash the exterior, driveway, and walkways.
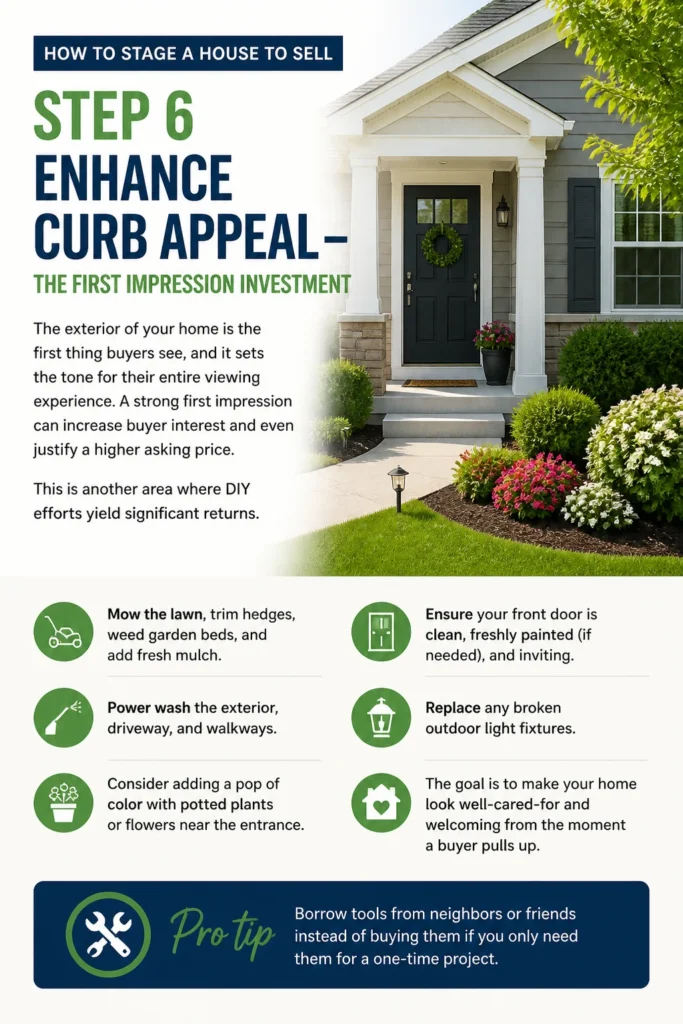
Consider adding a pop of color with potted plants or flowers near the entrance. Ensure your front door is clean, freshly painted (if needed), and inviting. Replace any broken outdoor light fixtures. The goal is to make your home look well-cared-for and welcoming from the moment a buyer pulls up.
Pro tip: Borrow tools from neighbors or friends instead of buying them if you only need them for a one-time project, saving you money. Even small touches like a new welcome mat or polished house numbers can elevate the entry experience, signaling that the home is ready to impress. This investment in curb appeal is a direct investment in your selling price, as studies show it can increase a home’s value by 7% or more.
Step 7: Light & Brighten Every Corner

Lighting significantly impacts mood and perceived space. Open all curtains and blinds to let in as much natural light as possible. Clean windows inside and out. Ensure every light fixture has working bulbs, and use bulbs with a consistent, warm color temperature (e.g., 2700K-3000K) to create an inviting ambiance.
Add lamps to dimly lit corners to brighten spaces and make rooms feel larger and more welcoming. Even during daytime showings, turning on all lights can make a huge difference, especially in areas like hallways, bathrooms, and basements. A bright home feels happier and more spacious, which is a big selling point.
Pro tip: While you don’t need to buy all new lamps, strategically moving existing lamps or even borrowing one can make a difference. If you do need to buy bulbs, opt for energy-efficient LED bulbs. They last longer and cost less to run, aligning with a money-smart, sustainable mindset. This small investment in lighting can literally illuminate your home’s best features, making it more appealing to buyers.
Step 8: Strategic Styling & Accessorizing for Emotional Connection
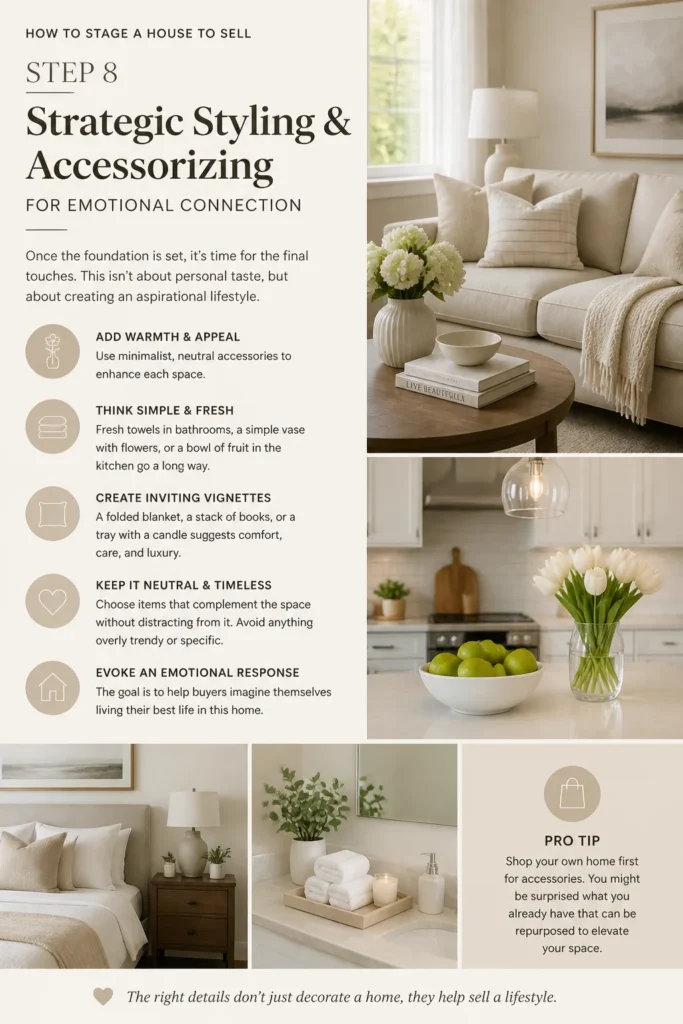
Once the foundation is set, it’s time for the final touches. This isn’t about personal taste, but about creating an aspirational lifestyle. Use minimalist, neutral accessories to add warmth and appeal. Think fresh towels in bathrooms, a simple vase with fresh flowers or a bowl of fruit in the kitchen, and a few throw pillows on the sofa.
Choose items that complement the space without distracting from it. Create vignettes that suggest comfort and luxury – a neatly folded blanket on a sofa, a stack of books on a nightstand. Avoid anything overly trendy or specific. The goal is to evoke an emotional response, making buyers feel like they could truly live a wonderful life in this home.
Pro tip: Shop your own home first for accessories. You might be surprised what you already have that can be repurposed. For anything new, check discount stores, thrift shops, or even borrow from friends. Remember, these are temporary props designed to enhance perceived value, not long-term investments for your next home. This budget-friendly approach to styling ensures you’re maximizing appeal without overspending, a truly savvy financial move.
Common Mistakes to Avoid
- Over-personalizing: Don’t leave family photos, diplomas, or highly personal decor items out.Why problematic: Buyers struggle to envision themselves in the home when it’s filled with another family’s memories. It creates a barrier to emotional connection.

Correct approach: Pack away all personal items. Aim for a neutral, universally appealing aesthetic that allows buyers to project their own future into the space.
- Neglecting Minor Repairs: Ignoring that leaky faucet, cracked tile, or squeaky door.Why problematic: Small issues signal deferred maintenance to buyers, making them wonder what bigger problems might be lurking. It can lead to lower offers or cause buyers to walk away.Correct approach: Address all minor repairs proactively. Most are inexpensive DIY fixes that significantly boost buyer confidence and your home’s perceived value.
- Skipping Decluttering: Thinking a quick tidy-up is enough.Why problematic: Clutter makes spaces feel smaller, disorganized, and less appealing. It distracts buyers from the home’s features.Correct approach: Be ruthless. Clear countertops, empty closets by 50%, and remove excess furniture. The more open and spacious a home feels, the better.
- Ignoring Odors: Overlooking pet, cooking, or damp smells.Why problematic: Odors are an immediate turn-off and can be a deal-breaker for buyers, regardless of how beautiful the home looks.Correct approach: Deep clean carpets and upholstery, open windows for fresh air, use subtle diffusers (avoid overpowering air fresheners), and identify and eliminate the source of any persistent smells.
- Not Setting a Budget: Diving into staging without financial boundaries.Why problematic: Without a budget, it’s easy to overspend on unnecessary items or upgrades that don’t offer a strong ROI, eating into your potential profit.Correct approach: Treat staging as a business investment. Create a detailed budget, prioritize high-impact, low-cost improvements, and track your spending to ensure a positive return on investment.
Troubleshooting
- “My budget is really tight!”Solution: Focus on free or low-cost, high-impact tasks: aggressive decluttering, deep cleaning, and rearranging existing furniture. These cost nothing but time and effort but yield huge returns. Monetize your clutter (sell items online) to create a small staging fund. Borrow tools or items from friends/family.

- “I have too much stuff and nowhere to put it!”Solution: This is a common challenge. Consider a small, temporary storage unit, or ask a trusted friend or family member if you can store boxes in their garage or basement for a few weeks. Remember, this is a short-term solution for a long-term financial gain.
- “I’m feeling overwhelmed and don’t know where to start.”Solution: Break down the process into smaller, manageable tasks. Start with one room, or even just one closet. Create a checklist and tackle one item at a time. The decluttering process (Step 2) is a great place to begin, as it often provides momentum and clears mental space too.
Key Takeaways
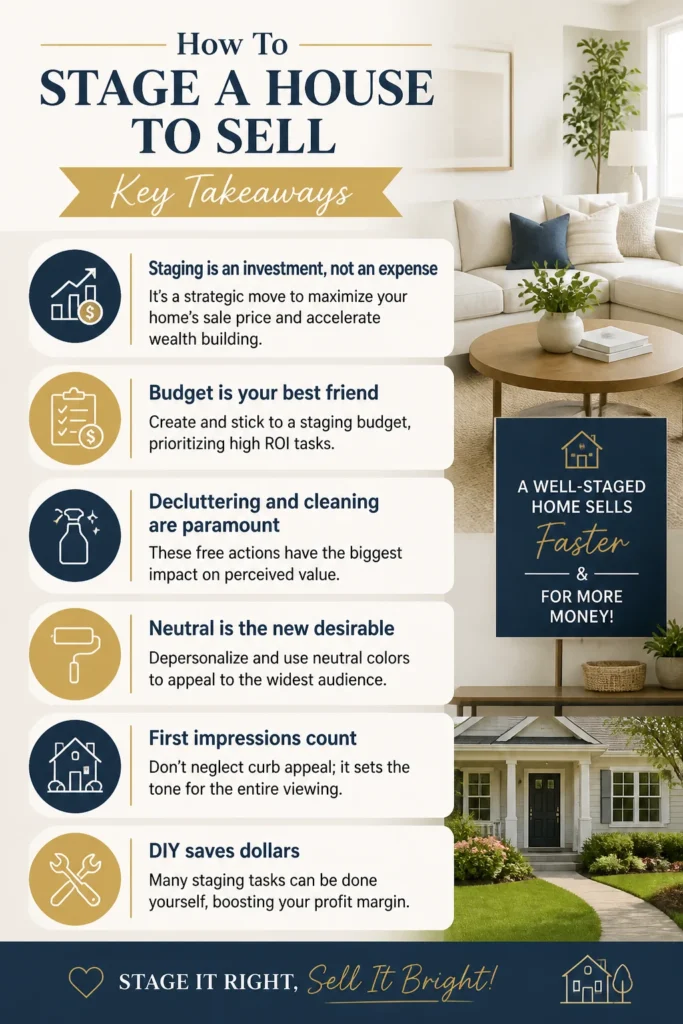
- Staging is an investment, not an expense: It’s a strategic move to maximize your home’s sale price and accelerate wealth building.
- Budget is your best friend: Create and stick to a staging budget, prioritizing high ROI tasks.
- Decluttering and cleaning are paramount: These free actions have the biggest impact on perceived value.
- Neutral is the new desirable: Depersonalize and use neutral colors to appeal to the widest audience.
- First impressions count: Don’t neglect curb appeal; it sets the tone for the entire viewing.
- DIY saves dollars: Many staging tasks can be done yourself, boosting your profit margin.
Frequently Asked Questions
Q: Is professional staging worth the cost?
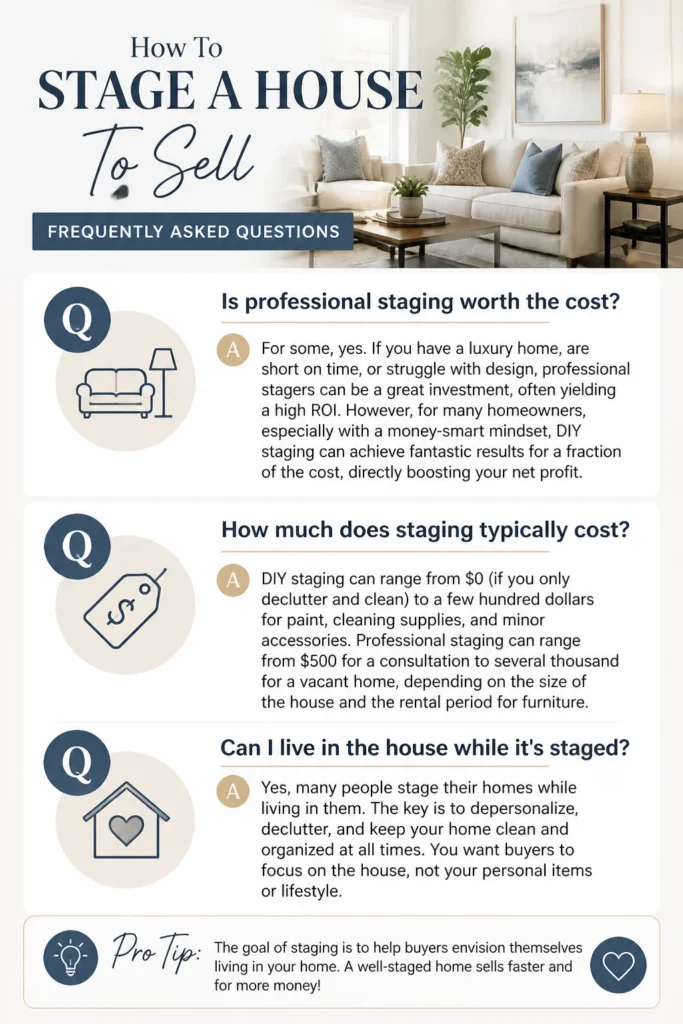
A: For some, yes. If you have a luxury home, are short on time, or struggle with design, professional stagers can be a great investment, often yielding a high ROI. However, for many homeowners, especially with a money-smart mindset, DIY staging can achieve fantastic results for a fraction of the cost, directly boosting your net profit.
Q: How much does staging typically cost?
A: DIY staging can range from $0 (if you only declutter and clean) to a few hundred dollars for paint, cleaning supplies, and minor accessories. Professional staging can range from $500 for a consultation to several thousand for a vacant home, depending on the size of the house and the rental period for furniture.
Q: Can I live in the house while it’s staged?
A: Yes, many people do! It requires discipline to maintain the staged look, keeping things tidy and depersonalized. It might feel a bit like living in a model home, but the financial payoff is usually worth the temporary inconvenience.
Q: What if my house is empty? Should I still stage it?
A: Absolutely! Empty homes often feel cold, smaller, and make it difficult for buyers to envision furniture placement. Even minimal staging (e.g., a few key pieces of furniture in the living room, dining room, and master bedroom) can make a huge difference in how a vacant home is perceived and its ability to sell faster and for a better price.
What’s Next?
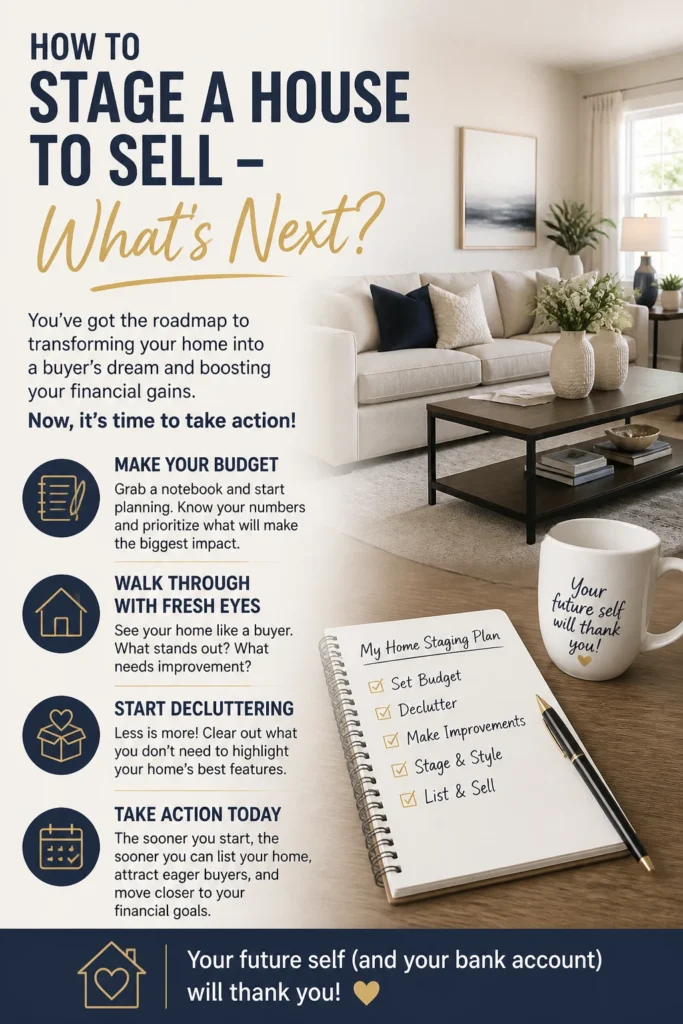
You’ve got the roadmap to transforming your home into a buyer’s dream and boosting your financial gains. Now, it’s time to take action! Grab a notebook and start making your budget. Walk through your home with fresh eyes and begin that decluttering process. The sooner you start, the sooner you can list your home, attract eager buyers, and move closer to your financial goals. Your future self (and your bank account) will thank you!