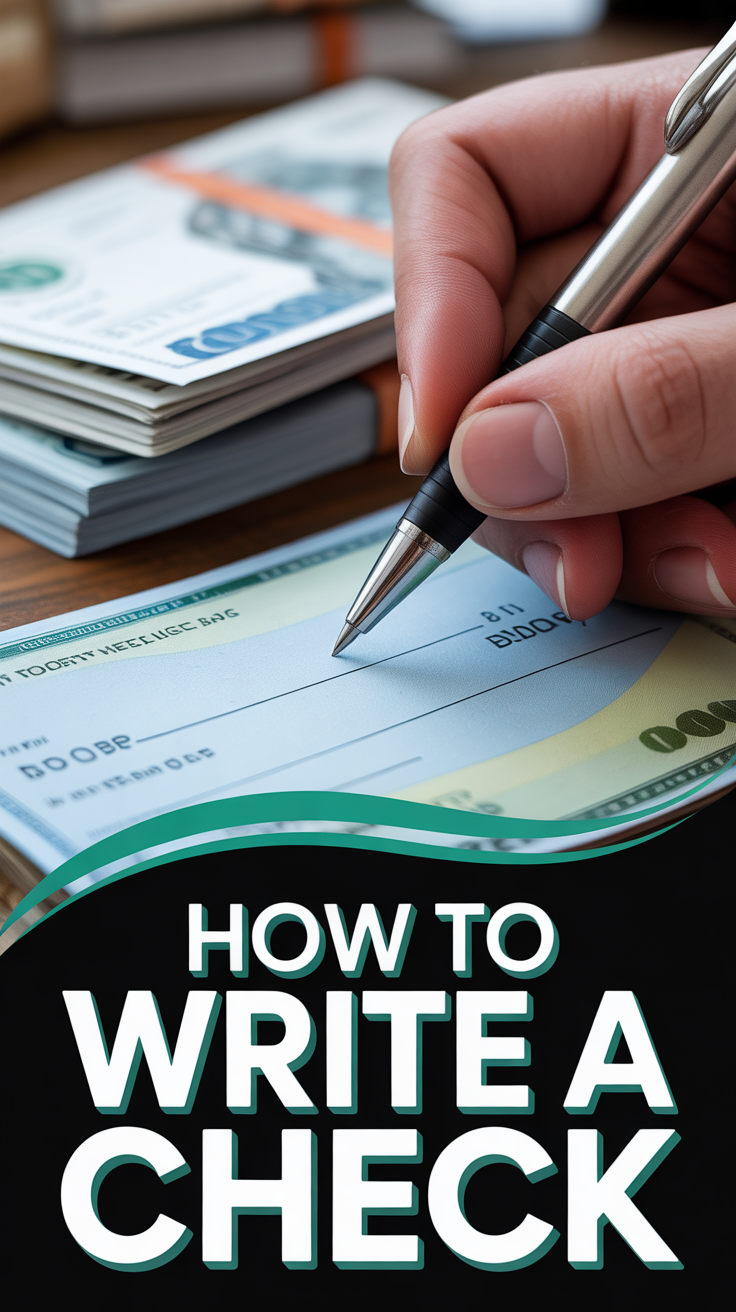
✍️ How To Write A Check
In our increasingly digital world, it might feel like writing a check is a skill from a bygone era. But here’s a secret: understanding how to write a check isn’t just about an old-school transaction; it’s a foundational lesson in personal finance that empowers you to manage your money with confidence and precision. Mastering this simple act unlocks deeper insights into budgeting, tracking expenses, and safeguarding your hard-earned cash – crucial skills for anyone serious about building lasting wealth.

Quick Overview
This guide will walk you through every step of accurately and securely writing a check, transforming a potentially intimidating task into a straightforward financial habit. You’ll learn not just the mechanics, but also the money-smart strategies that turn a simple piece of paper into a powerful tool for financial control.
- Time needed: 10-15 minutes (first time), 2-3 minutes (once you’re a pro!)
- Difficulty: Beginner
- What you’ll need: Your checkbook, a reliable pen (preferably blue or black ink), and a clear head.
Step-by-Step Instructions
Step 1: Gather Your Tools and Set the Scene
Before you even pick up a pen, ensure you have everything you need. This isn’t just about convenience; it’s about creating an environment free from distractions so you can focus on accuracy. Grab your checkbook and a pen. A good quality pen with blue or black ink is essential, as these colors are less prone to fading and are generally preferred by banks for security reasons. Avoid pencils or erasable pens at all costs – they are an open invitation for fraud.
Find a quiet spot where you can sit comfortably and concentrate. Think of this as your personal finance command center. By treating this task with the importance it deserves, you’re building a habit of mindfulness around your money, which is a cornerstone of effective financial management.
Pro tip: Always keep your checkbook in a secure place, like a locked drawer or a safe, when not in use. Checks are like blank IOUs; if they fall into the wrong hands, they can be used to access your funds. Protecting your checkbook is a simple yet vital step in preventing financial fraud and safeguarding your wealth.
Step 2: Date It Right – The Foundation of Your Financial Record
Look at the top right corner of your check. You’ll see a line designated for the date. This is where you’ll write the current date, including the month, day, and year (e.g., “July 26, 2024”).
Why is the date so important? It establishes a clear timeline for the transaction. Banks use this date to process the check, and it’s a crucial piece of your financial record. For budgeting purposes, dating your checks correctly ensures that your spending aligns with your monthly financial cycles. If you’re tracking expenses, a clear date helps you categorize spending accurately and review your cash flow.
While you might occasionally encounter situations where someone asks you to “post-date” a check (write a future date), it’s generally advisable to avoid this practice. Post-dating doesn’t legally prevent someone from cashing the check immediately, and it can complicate your financial tracking. Stick to the current date for maximum clarity and control over your funds.
Step 3: Identify the Payee – Who Gets Your Money?
Next, locate the line that says “Pay to the order of” or similar phrasing. This is where you’ll write the full name of the person or organization you are paying. Legibility is paramount here. If the payee’s name is unclear, the bank might not process the check, causing delays and potential frustration for both you and the recipient.
For example, if you’re paying your landlord, write “John Doe” or “ABC Property Management.” If you’re paying a utility company, write their exact corporate name, such as “City Power & Light.” Always double-check the spelling to ensure the funds go to the correct recipient.
From a money-smart perspective, accurately identifying the payee is a critical security measure. It ensures your money reaches its intended destination and helps prevent fraud. Think of it as directing your financial resources precisely where they need to go, a key principle in effective wealth management. Every dollar has a purpose, and this step ensures it fulfills that purpose.
Step 4: Write the Numerical Amount – Precision in Figures
Now, look for the dollar box, usually located to the right of the “Pay to the order of” line, often preceded by a dollar sign ($). This is where you’ll write the numerical amount of the payment. For instance, if you’re paying $150.75, you’d write “150.75”.
A crucial detail here is to start writing the numbers as close to the dollar sign as possible, leaving no significant gaps. This simple trick makes it much harder for someone to alter the amount by adding extra digits, thereby protecting your funds from potential fraud. If the amount is a whole dollar amount, like $100, you can write “100.00”.
Accuracy in this step is non-negotiable. A misplaced decimal or a forgotten digit can lead to overpayment, underpayment, or even a bounced check, incurring fees and damaging your financial reputation. Double-check the amount against the bill or invoice you’re paying. This attention to detail isn’t just about writing a check; it’s a habit that translates to all areas of financial management, from tracking investments to reviewing your monthly budget.
Step 5: Spell Out the Amount – The Legal Backup
Below the “Pay to the order of” line, you’ll find a longer line that typically ends with “Dollars.” This is where you write out the numerical amount in words. This step serves as the legal amount of the check, and in case of a discrepancy between the numerical amount and the written amount, the written amount is usually considered the valid one by banks.
Continuing our example of $150.75, you would write: “One hundred fifty and 75/100.”
- Always capitalize the first letter of the first word (e.g., “One”).
- For cents, write them as a fraction over 100 (e.g., “75/100”). This clearly indicates the fractional part of the dollar.
- If the amount is a whole dollar, you can write “One hundred fifty and 00/100” or “One hundred fifty and no/100.”
- Crucially, draw a line through any remaining blank space after you’ve written the amount. This prevents anyone from adding extra words or numbers to fraudulently increase the check amount.
This step is a powerful layer of security and clarity. It reinforces the exact amount you intend to pay, making it incredibly difficult for anyone to alter the check. From a wealth-building perspective, minimizing fraud risk means protecting your existing assets, ensuring your financial foundation remains strong and secure.
Step 6: Add a Memo – Your Personal Financial Trail
On the bottom left corner of the check, you’ll see a line labeled “Memo” or “For.” This space is entirely for your personal record-keeping. While not legally required for the check to be valid, it’s an invaluable tool for your financial organization.
Use the memo line to briefly describe the purpose of the payment. For example:
- “July Rent”
- “Car Payment – Account #12345”
- “Groceries – 7/26”
- “Donation – Charity Name”
Why is this a money-smart move? When you review your bank statements or check register later, the memo line provides instant context for each transaction. This makes budgeting, tracking expenses, and reconciling your accounts significantly easier. It helps you see exactly where your money is going, identify spending patterns, and make informed decisions about future financial allocations. It’s like leaving breadcrumbs for your future self, making your financial journey clearer and more manageable.
Step 7: Sign Your Name – Authorizing the Transaction
Finally, look for the signature line on the bottom right corner of the check. This is where you will sign your legal signature. Your signature authorizes your bank to release the funds from your account to the payee.
Your signature should match the one your bank has on file. While it doesn’t have to be an exact replica every time, it should be consistent enough for your bank to recognize it as authentic. An illegible or wildly different signature could cause the bank to flag the check and delay processing.
This is the ultimate security measure. Without your signature, the check is just a piece of paper. It’s your personal stamp of approval, signifying your consent to the transaction. In the grand scheme of financial independence, knowing that you are in control of your money, right down to the authorized release of funds, is incredibly empowering. It reinforces the idea that every financial decision is yours to make and to own.
Step 8: Record It in Your Check Register – The Ultimate Budgeting Hack
This step is arguably the most crucial for truly mastering your money, yet it’s often overlooked. Every checkbook comes with a check register – a small booklet or dedicated page designed to track your transactions. Before you hand over that check, take a moment to record it.
In your check register, you’ll typically record:
- Check Number: Found in the top right corner of the check.
- Date: The date you wrote on the check.
- Description: The payee’s name and the memo (e.g., “John Doe – July Rent”).
- Payment/Debit: The amount of the check.
- Balance: Subtract the check amount from your previous balance to get your new running balance.
Why is this a wealth-building superpower? The check register is your real-time snapshot of your available funds. It helps you:
- Prevent Overdrafts: By always knowing your true balance, you avoid spending money you don’t have, saving you from hefty overdraft fees that erode your savings.
- Stay on Budget: It’s a manual budgeting tool that forces you to acknowledge every outgoing dollar. This awareness is key to sticking to your financial plan.
- Track Spending: Over time, your register provides a detailed history of where your money goes, invaluable for identifying spending habits and making adjustments.
- Reconcile Accounts: When your bank statement arrives, you can easily compare it to your register, spotting any discrepancies or unauthorized transactions.
Neglecting your check register is like flying blind financially. Make it a non-negotiable habit. This simple act of meticulous record-keeping is a fundamental building block for financial stability, helping you control your cash flow and confidently work towards your savings goals.
Step 9: Review and Double-Check – Your Final Security Scan
You’ve done all the work, now give it one last look. Before you tear that check out of the book, take a moment to quickly review every field:
- Is the date correct?
- Is the payee’s name spelled correctly and legible?
- Do the numerical and written amounts match?
- Is there a memo for your records?
- Is your signature clear and consistent?
- Have you recorded the transaction in your check register?
This final scan acts as your personal quality control. It’s a quick, easy way to catch any minor errors that could lead to delays or financial headaches down the road. In the world of money management, accuracy and prevention are far better than correction and reaction. A quick review saves you time, stress, and potential fees, keeping you on the path to financial wellness.
Common Mistakes to Avoid
Even seasoned check writers can sometimes slip up. Being aware of these common pitfalls will save you time, money, and stress, reinforcing your money-smart habits.
-
Leaving Blank Spaces: This is a major security risk. If you leave large gaps before or after the payee’s name, the numerical amount, or the written amount, a malicious individual could easily add extra information (e.g., adding “and a half” to “$100” to make it “$100 and a half” or adding digits to “$50” to make it “$150”).
Why it’s problematic: It opens the door to check fraud, potentially emptying your bank account.
Correct approach: Always start writing as close to the beginning of the line as possible, and draw a line through any remaining blank space after completing the entry. -
Not Using Your Check Register: Many people skip this step, relying solely on online banking or memory. This is a huge mistake.
Why it’s problematic: Without a real-time record, you’re prone to forgetting transactions, miscalculating your balance, and ultimately overdrawing your account. Overdraft fees can quickly add up, costing you valuable savings and undermining your budget.
Correct approach: Make recording every check (and every debit card transaction!) in your register a non-negotiable habit. Your register is your first line of defense against overdrafts and a crucial tool for accurate budgeting. -
Signing a Blank Check: Never, ever sign a check that has not been fully filled out. This means no payee, no amount, no date.
Why it’s problematic: A signed blank check is essentially a blank authorization for anyone who finds it to take any amount of money from your account. It’s like handing over your wallet with no questions asked.
Correct approach: Only sign a check once all other fields (date, payee, numerical amount, written amount, memo) have been accurately and completely filled in. Your signature is the final authorization; don’t give it away prematurely. -
Illegible Writing: While a little messy handwriting is common, if your entries are completely unreadable, it can cause problems.
Why it’s problematic: Banks may reject checks with unclear information, especially the payee’s name or the amount. This leads to delays, the need to rewrite the check, and potential late fees for your payment.
Correct approach: Take your time and write clearly and neatly. If your handwriting is naturally difficult to read, print the information in block letters to ensure clarity.
Troubleshooting
Even with the best intentions, mistakes can happen. Here’s how to handle a few common check-writing dilemmas like a financial pro:
-
You Made a Mistake on the Check: Let’s say you wrote the wrong amount or payee name.
Quick Solution: If it’s a minor mistake and you haven’t torn the check out yet, you can often cross out the error with a single line, write the correct information above it, and initial the change. However, if the mistake is significant, or if you’re unsure, the safest option is to write “VOID” in large letters across the entire front of the check (making sure not to cover the check number). Then, tear it up, and record it as “VOID” in your check register. This prevents anyone from fraudulently using the check. Always use a new check for the correct payment. -
A Check You Wrote Hasn’t Cleared: You wrote a check a while ago, and the money hasn’t left your account.
Quick Solution: First, check your check register to confirm the date you wrote it. Then, contact the payee to see if they’ve received or deposited the check. If they haven’t, or if it’s been an unusually long time (e.g., more than a few weeks), you might need to contact your bank to place a “stop payment” order on the check. Be aware that banks usually charge a fee for this service. This highlights the importance of keeping your check register updated, so you know exactly which checks are outstanding. -
You Realized You’re Low on Funds After Writing a Check: You might be worried about the check bouncing.
Quick Solution: Act immediately! Check your online banking or call your bank to get your precise current balance. If you’re indeed short, try to deposit funds into your account as quickly as possible to cover the check before it’s presented for payment. If you can’t cover it, contact the payee to explain the situation and arrange an alternative payment method. This proactive approach can sometimes help avoid a bounced check fee and maintain your financial reputation. This scenario is a stark reminder of why diligently using your check register is so critical – it helps you avoid these stressful situations altogether!
Key Takeaways
Mastering check writing is more than just a procedural task; it’s an exercise in financial discipline and security. Here are the core principles to remember:
- Accuracy is Paramount: Double-check all entries – date, payee, numerical amount, and written amount – to prevent errors and fraud.
- Security First: Always fill in all fields completely, avoid leaving blank spaces, and never sign a blank check. Use blue or black ink for permanence.
- The Check Register is Your Best Friend: Consistently record every check you write. This is your essential tool for real-time balance tracking, budgeting, and avoiding overdraft fees.
- Legibility Matters: Write clearly so your bank and the payee can easily understand the information, preventing delays and issues.
- Be Proactive: If a mistake occurs or funds are low, address the issue immediately. Proactive financial management saves you stress and money.
Frequently Asked Questions
Let’s address some common queries to further solidify your check-writing expertise and money-smart mindset.
Q: Can I use a pencil to write a check?
A: Absolutely not! Always use a pen with blue or black ink. Pencil marks can be easily erased and altered, making your check highly susceptible to fraud. This is a non-negotiable security measure to protect your funds.
Q: What happens if the numerical amount and the written amount don’t match?
A: In most cases, banks will honor the written (word) amount over the numerical amount. This is why it’s crucial to write out the amount clearly and correctly, and why drawing a line through any remaining space is so important. However, it’s best practice to ensure both amounts match perfectly to avoid any potential confusion or processing delays.
Q: How long is a check valid?
A: Most personal checks are valid for six months (180 days) from the date they are written. After this period, they are considered “stale-dated” and banks typically have the right to refuse payment. Government checks, however, can sometimes have a longer validity period (e.g., one year). Always encourage recipients to deposit checks promptly.
Q: When should I avoid using a check and opt for other payment methods?
A: While checks are useful, they’re not always the best option. Consider alternatives when:
- Paying online bills: Many companies offer direct debit or online payment portals, which are often faster and more secure.
- Sending money to individuals quickly: Peer-to-peer payment apps (like Venmo, Zelle, PayPal) offer instant transfers.
- For very large sums: For significant transactions, a wire transfer or cashier’s check (guaranteed funds from the bank) offers more security and immediate availability of funds.
- When mailing sensitive information: Mailing a check means your bank account and routing numbers are visible, which could be intercepted.
Knowing when to use a check versus other methods is another facet of being truly money-smart.
What’s Next?
Congratulations! You’ve not only learned how to write a check, but you’ve also unlocked a deeper understanding of financial security and mindful money management. This seemingly simple skill is a powerful stepping stone on your journey to financial independence.
Now that you’re comfortable with checks and the importance of tracking your money, here are some next steps to continue building your wealth-savvy toolkit:
- Embrace Digital Budgeting: While your check register is fantastic, explore budgeting apps (like Mint, YNAB, or Personal Capital) or even a simple spreadsheet. These tools can automate tracking, categorize spending, and provide visual insights into your financial health.
- Master Online Banking: Get familiar with your bank’s online portal. Learn how to set up bill pay, transfer funds, monitor transactions, and set up alerts. This gives you 24/7 access to your money management.
- Set Financial Goals: Now that you’re tracking your money more closely, define what you want your money to do for you. Is it saving for a down payment, an emergency fund, or retirement? Clear goals give your money purpose.
- Understand Your Credit Score: Your credit score is vital for loans, mortgages, and even some jobs. Learn what affects it and how to build a strong credit history.
- Start an Emergency Fund: If you haven’t already, make building an emergency fund (3-6 months of living expenses) your top financial priority. It’s the ultimate safety net against unexpected expenses.
Remember, financial literacy is a journey, not a destination. Every step you take, no matter how small, brings you closer to greater control, peace of mind, and ultimately, true financial freedom. You’ve just taken a significant step today. Keep learning, keep growing, and keep empowering yourself!